Invite spring into your home with some easy indoor gardening! Making cress eggs is not just a great Easter decoration, it’s also the perfect opportunity to show your kids how plants grow and what they need – and they are growing their own food in the process.
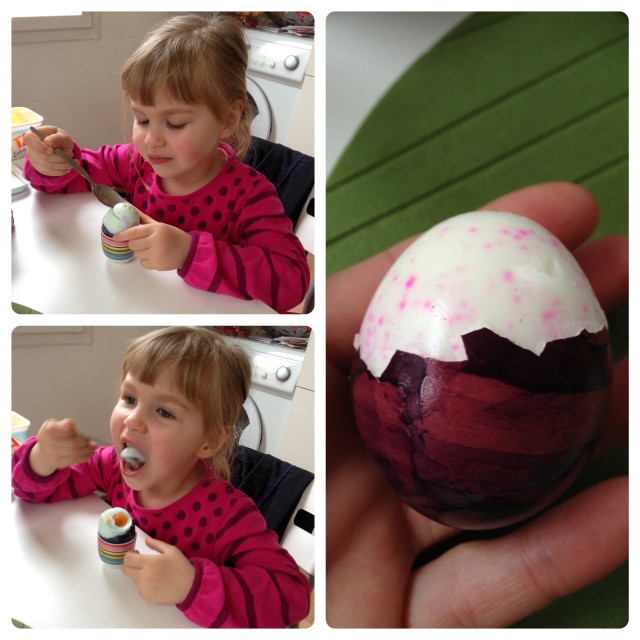
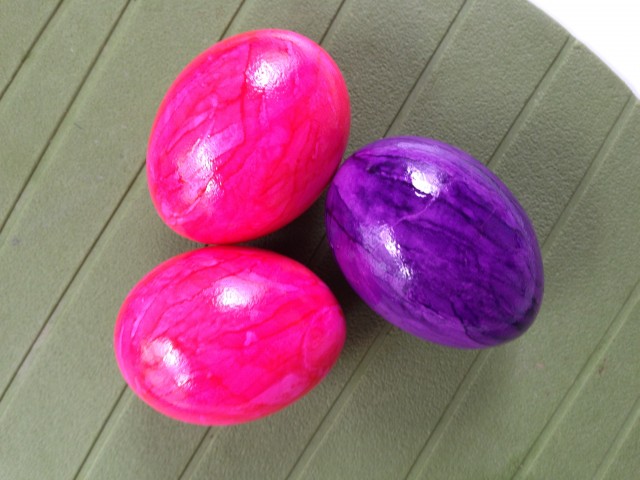 My niece and I started our little indoor gardening project by carefully peeling the tops of some colorful Easter eggs. Of course, the eggs couldn’t go to waste and my niece was happy to help 🙂
 We then washed out the egg shells and laid out ready all the things we need: cotton wool, and egg carton and cress seeds.
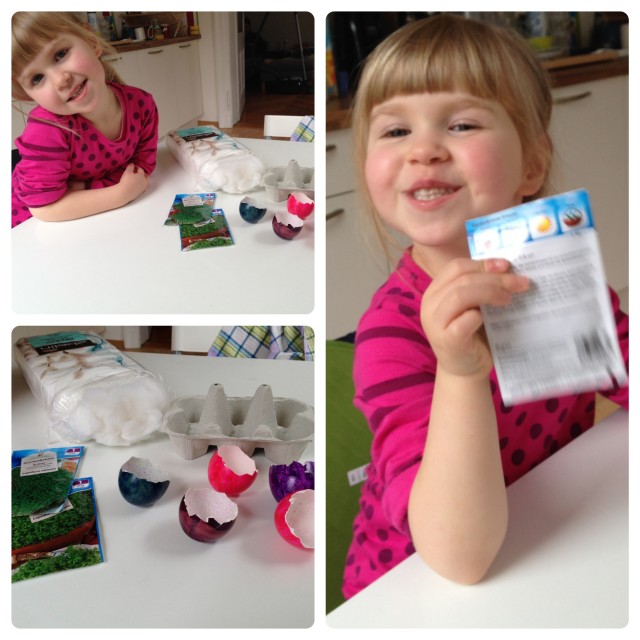 The egg carton served as flower pot holder for our egg shells.
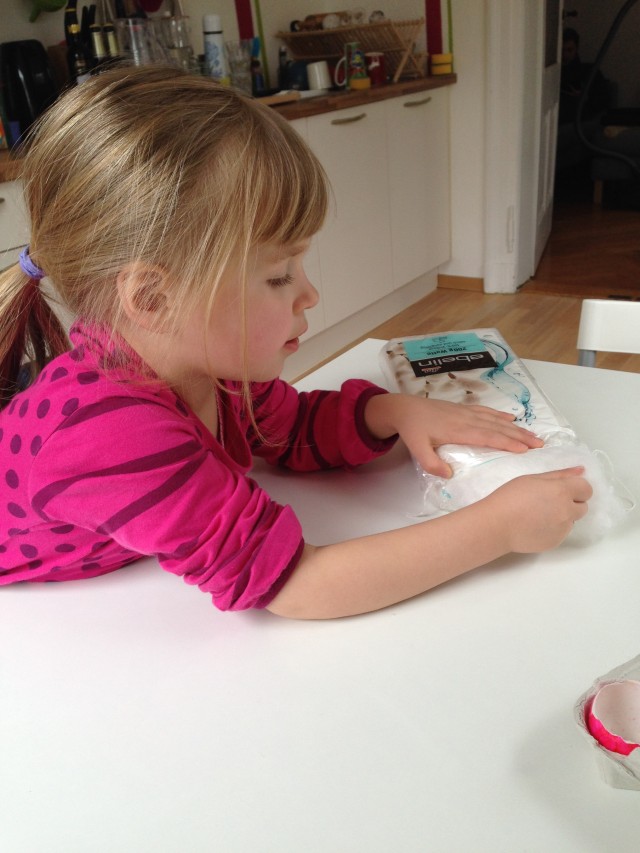 My niece stuffed some cotton wool into the egg shells but you could also use potting compost.
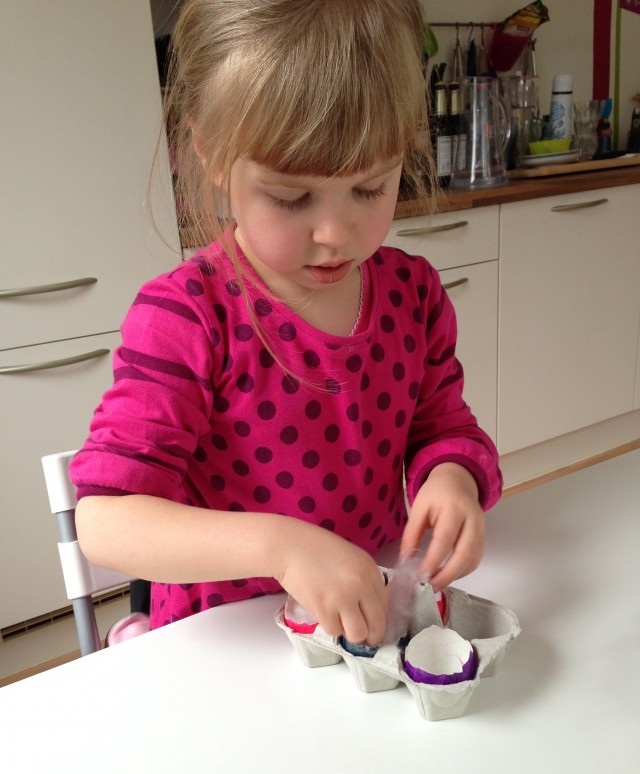 After that, she put the cress seeds on top of the cotton.
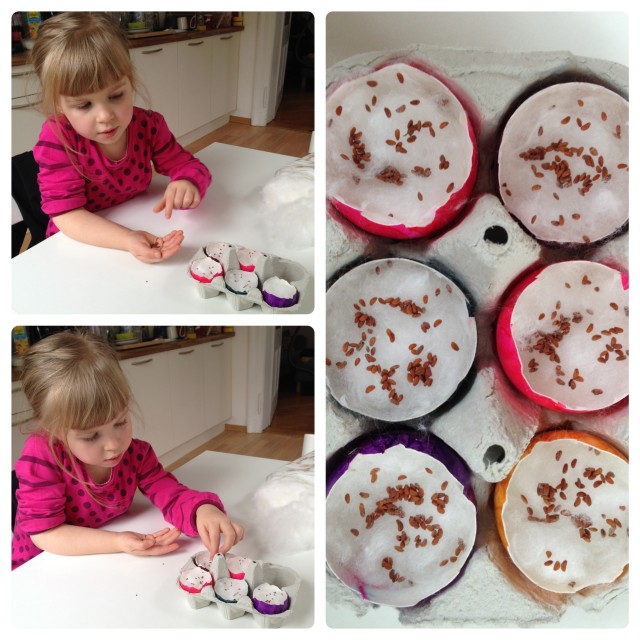 Then, I explained that every plant also needs water to grow so we had to let it rain. She let the raindrops drip from her fingers until all the seeds were wet.
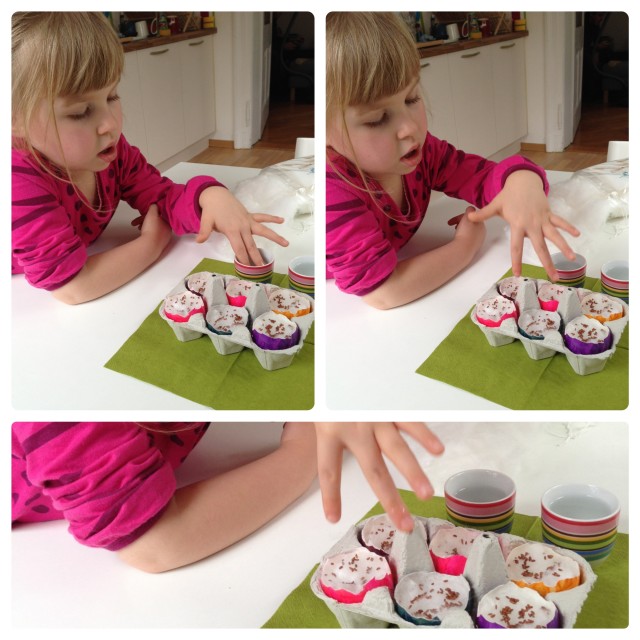 Then we had to wait…
Fortunately, cress grows really quickly so it’s perfect for young gardeners because there is some new development to see every day – you can even see differences in one day! Here is how our tiny plants grew:
Day One
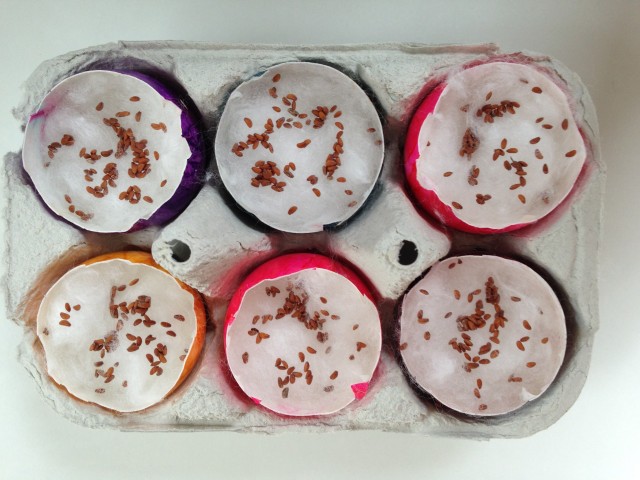 Day Two
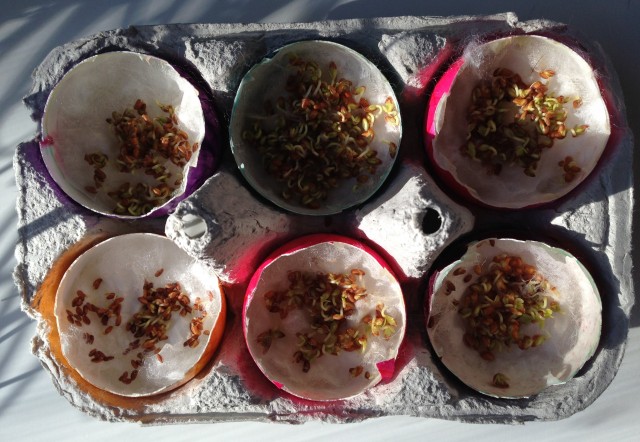
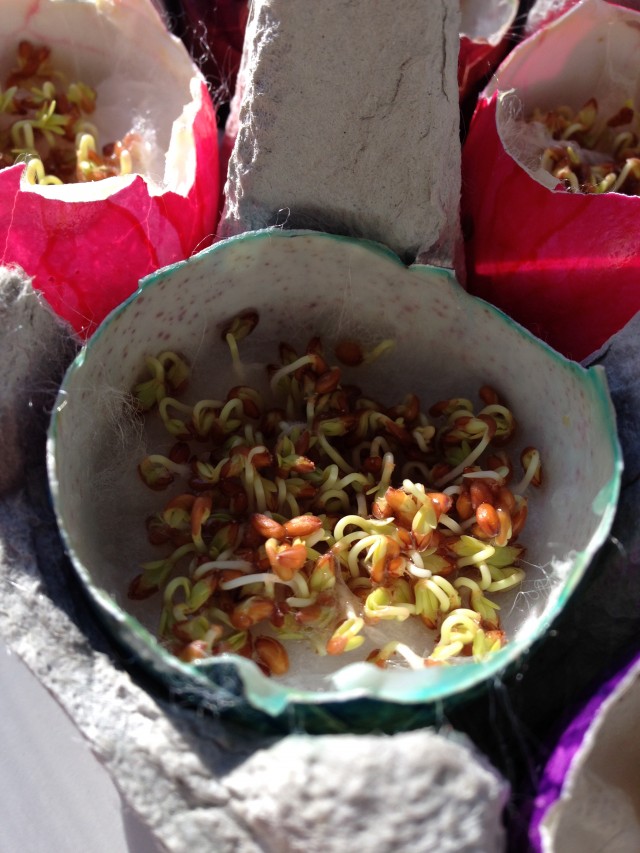 Day Five
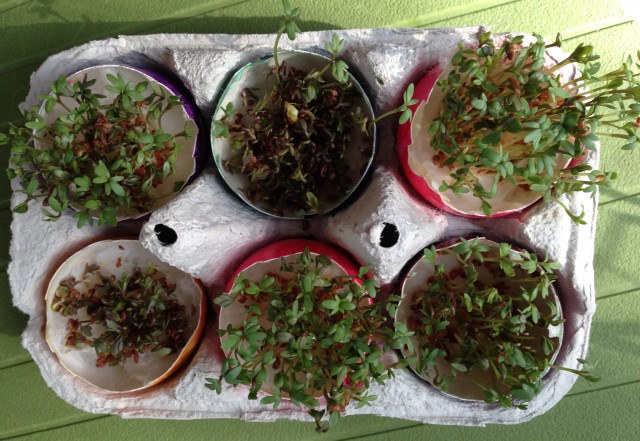
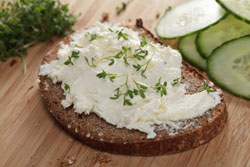
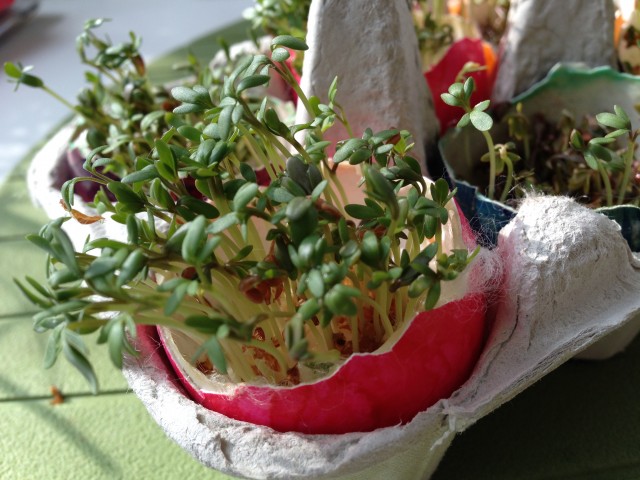 This project is not just great to explain to kids how plants grow but also to introduce them to growing their own food and eat healthy things. Cress tastes great on cream cheese, in soups or sprinkled over salads. What’s more, it’s full of vitamins and minerals.
On Day Six, we could harvest the fruits of our labour.
Here is the video tutorial to growing cress eggs.
