Music is so important for growth in kids of all ages. So why not get them a head start toward their future in appreciation of music. You might not be prepared to shell out the money for a high quality instrument yet, but making your own musical instrument might be even cooler.
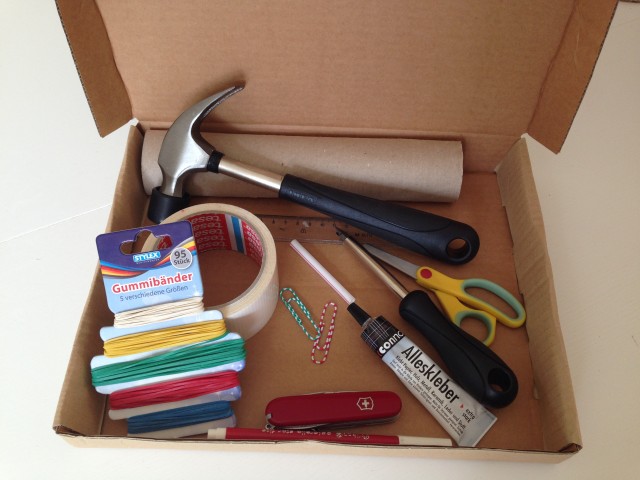 Here’s our step by step instructions for your kids first guitar with just these supplies.
A box (shoebox or whatever inspires you), a paper towel tube, rubber bands, duct tape, two paper clips, a ruler, a marker, scissors, glue, a sharp knife, a hammer, and a screw driver.
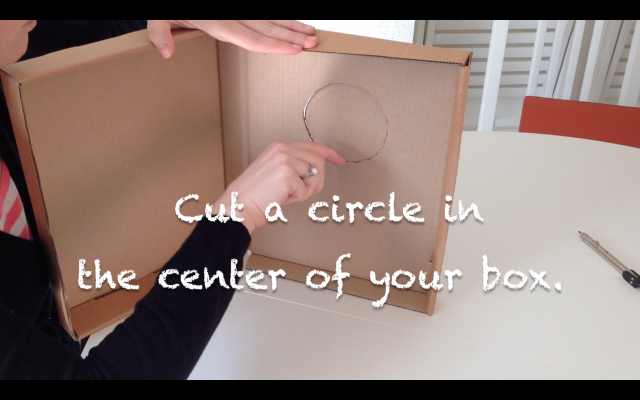 Cutting a circle from your box can be done by an adult. Put it in the center but closer to the bottom of your box.
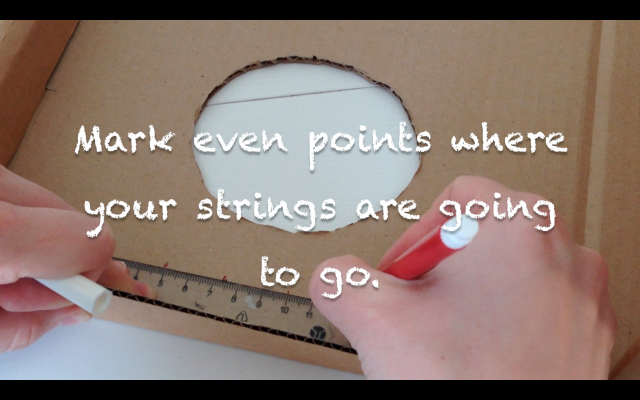 Make your points even to each other and centered to your circle. I placed mine about a rulers width from the top and bottom.
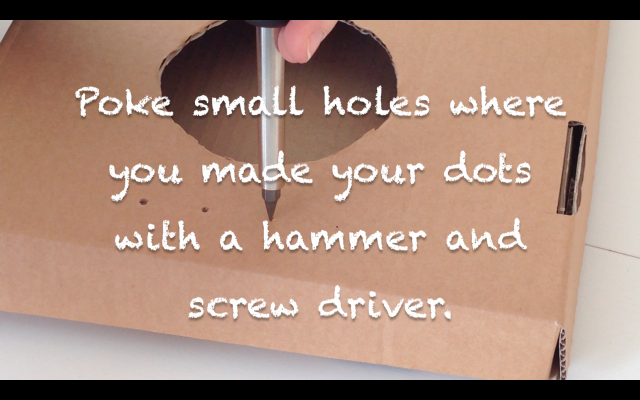 Make small holes with something sharp.
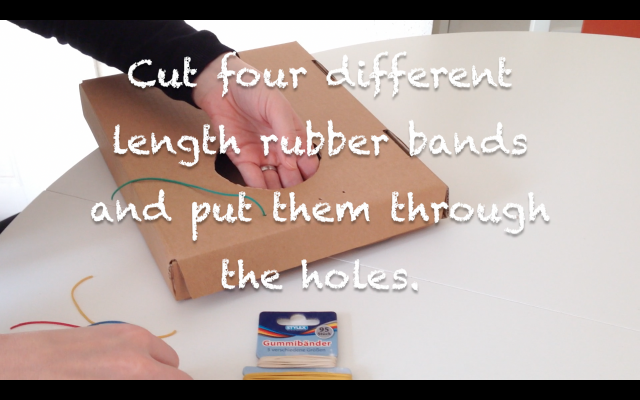 The different lengths of rubber bands stretch at different tensions and make the sounds as a guitar should.
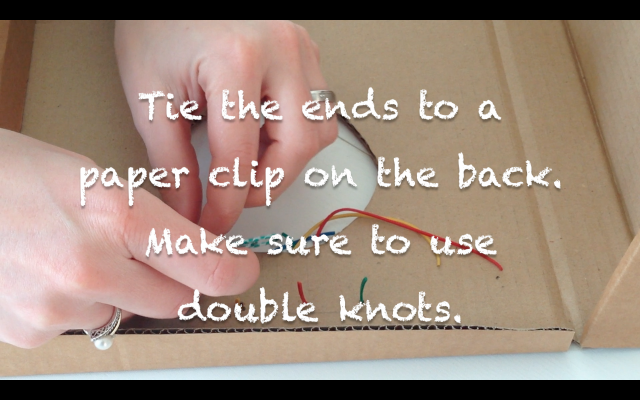 Trust me with the double knots. You don’t want to go through all that effort to have all your strings slip out of their knots.
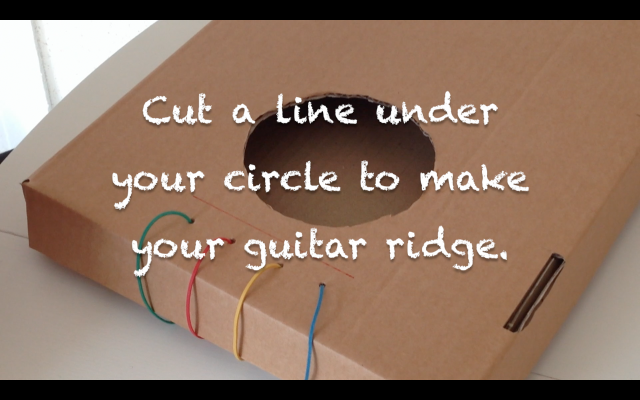 This cut doesn’t go all the way through but is just so you can make an indentation with the edges.
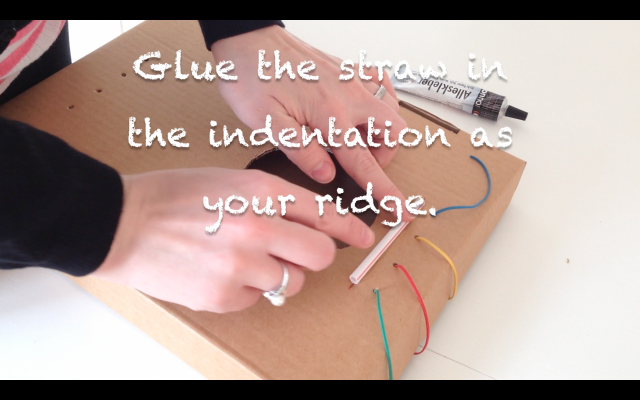 I wasn’t sure that a straw would hold up under the pressure of the strings but tried it since it’s what we had on hand. It works perfect!
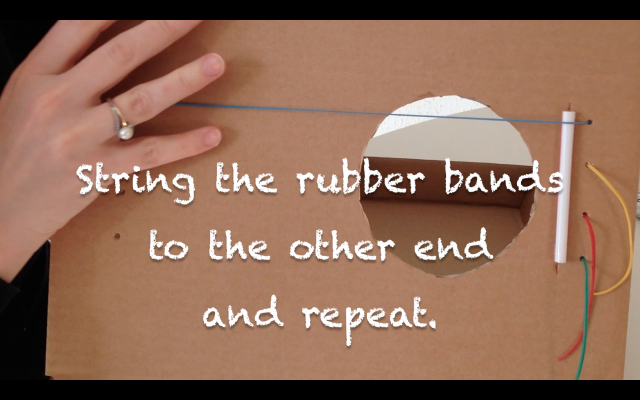 Tying the rubber bands to the second paper clip is a bit more difficult when there’s tension. This is when you realize you should’ve made double knots if you didn’t already.
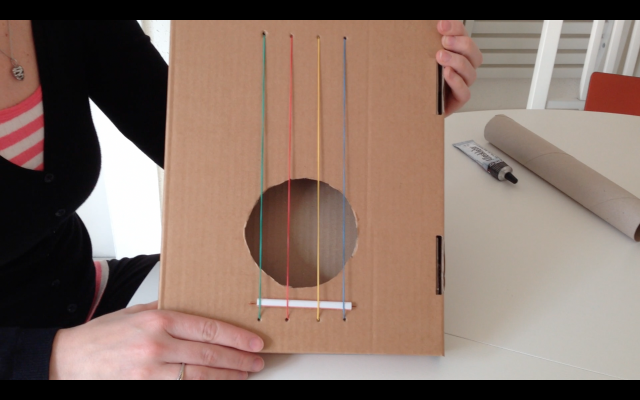 Almost a guitar at this point but you still need to neck to make it real.
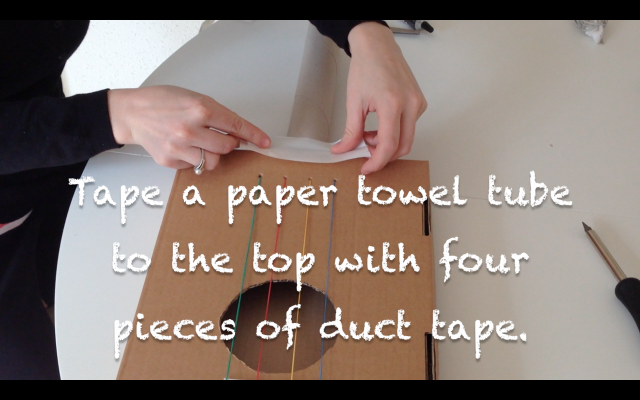 Duct tape is amazing stuff and could probably hold the world together if it had to.
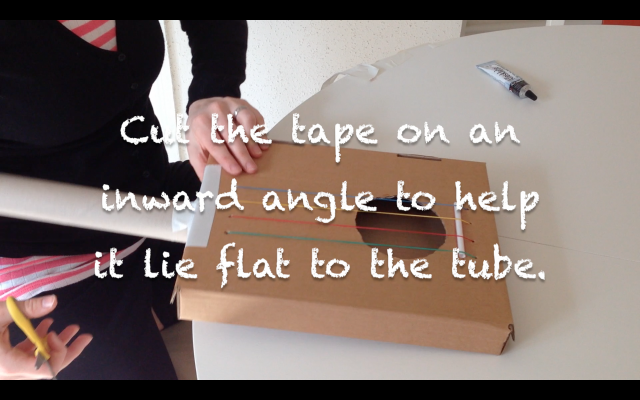 Cutting the tape on the right angle was a trial and error thing but this way really makes a tight grip.
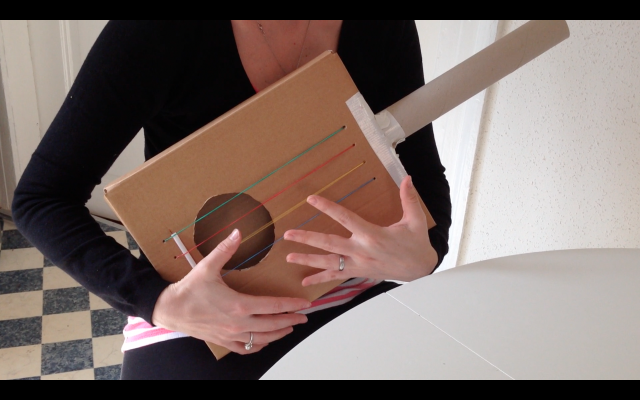 And here is our working four string guitar. It might not be beautiful but I was really surprised that you can still pick out a tune (sort of.) Either way, your kids will love a guitar just for them. And who knows, you might have a future rockstar on your hands!
